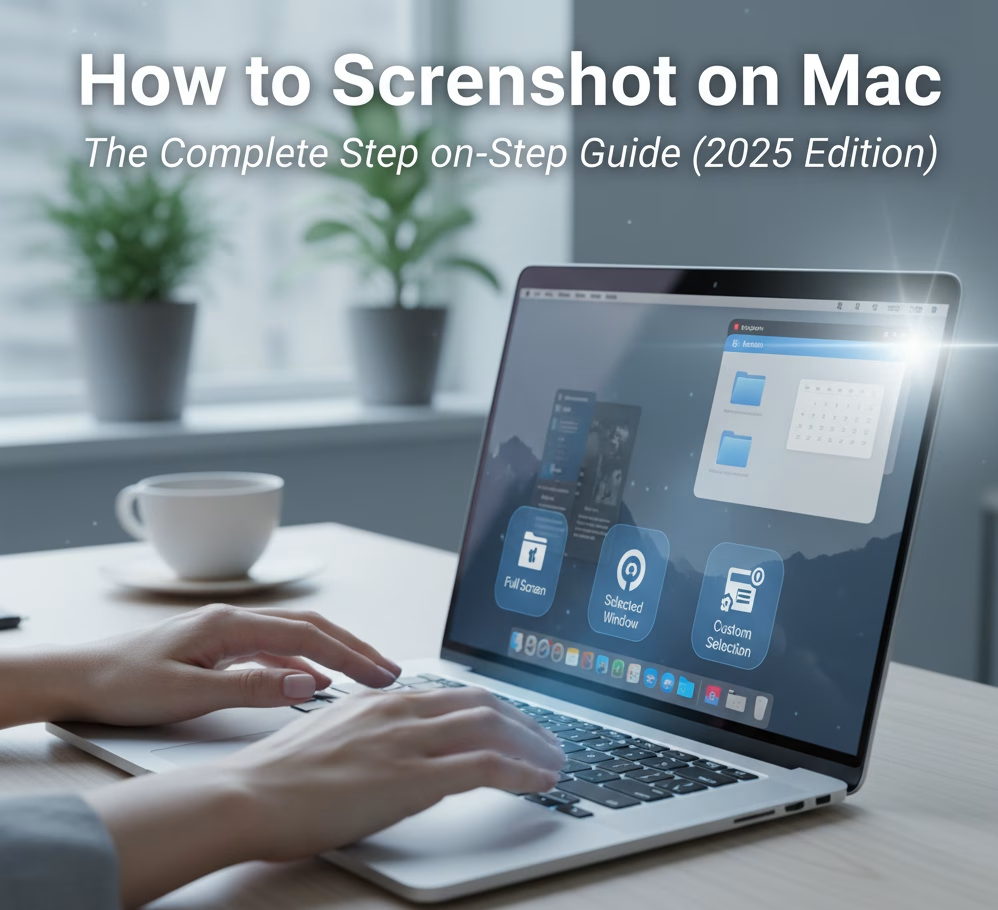
How to Screenshot on Mac: The Complete Step-by-Step Guide (2025 Edition)
Introduction
Screenshots have become part of everyday digital life. Whether you are a student preparing notes, a designer sharing mockups, or a business professional documenting online transactions, knowing how to take a screenshot quickly can save you time.
If you are a Mac user, you may wonder which keys to press and which options work best. This guide will walk you through all the ways to take a screenshot on Mac in 2025, including shortcuts, advanced tools, and tricks specific to MacBook Air, MacBook Pro, and iMac.
1. Basic Mac Screenshot Shortcuts
Apple makes screenshots simple with a few built-in commands:
Capture the Entire Screen
Press Command (⌘) + Shift + 3
→ Saves the screenshot directly to your desktop.Capture a Selected Portion of the Screen
Press Command (⌘) + Shift + 4
→ Your cursor changes into a crosshair. Drag to select the area.Capture a Specific Window
Press Command (⌘) + Shift + 4 + Spacebar
→ Then click on the window you want.Capture and Open in Preview
Hold Control with the above shortcuts
→ This saves the screenshot to clipboard instead of desktop.
2. Advanced Screenshot Options with Screenshot Toolbar
macOS includes a screenshot toolbar for more flexibility:
Press Command (⌘) + Shift + 5
Options appear at the bottom of the screen, including:
Capture Entire Screen
Capture Selected Window
Capture Custom Portion
Record Screen (video recording of your desktop)
This is especially useful for tutorials, presentations, and YouTube content creators.
3. Where to Find Your Screenshots
By default, screenshots are saved to your desktop with a filename like “Screenshot [Date] at [Time].png”.
To change the location:
Open Screenshot Toolbar (⌘ + Shift + 5)
Click Options
Choose Desktop, Documents, Clipboard, Mail, or a custom folder.
4. Editing and Markup
After taking a screenshot, a thumbnail appears at the bottom-right corner. Click it to:
Crop or resize
Add text, arrows, or shapes
Highlight sections
Share directly via Mail, Messages, or AirDrop
5. Screenshot Tips for Mac Users in Ghana and Beyond
For students: Quickly capture lecture slides from Zoom or Google Classroom.
For business users: Keep receipts of mobile money or online transactions.
For bloggers and content creators: Use screenshots in tutorials to engage readers.
For developers: Capture error codes or terminal results for debugging.
Whether you are in Accra, Kumasi, Lagos, or New York, these shortcuts work the same across all regions.
6. Common Screenshot Problems and Fixes
Screenshot not saving to desktop?
→ Check System Preferences > Keyboard > Shortcuts > Screenshots.Thumbnail not appearing?
→ Ensure “Show Floating Thumbnail” is enabled in options.File too large?
→ Use Preview to export as JPEG instead of PNG.
7. SEO & Related Keywords to Target
how to screenshot on Mac
Mac screenshot shortcuts
how to take screenshot on MacBook Pro
screenshot toolbar macOS
screenshot not working on Mac
Conclusion
Knowing how to screenshot on Mac is one of the simplest yet most powerful skills every user should master. From shortcuts like ⌘ + Shift + 3 to advanced screen recordings, your Mac gives you complete control.
Start practicing these tips today, and you will never struggle to capture and share your screen again.
Call-to-Action (CTA):
👉 Found this guide useful? Share it with your friends or bookmark it for later. For more tech tutorials and Ghana-focused digital guides, visit Savanabit.com daily.


